
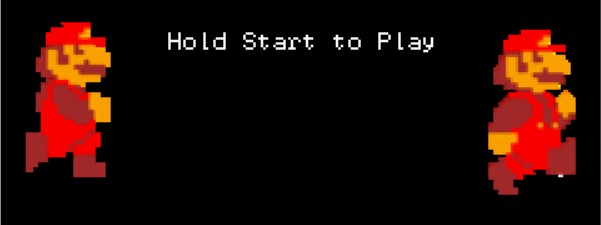
Super Mario Game for GameBoy Advanced
A mock of a childhood favorite written in C
In one of my earlier academic projects, I was asked to create a video game using the GBA libraries for C. Growing up playing the 2D scrollers of the Super Mario series on my parent's Nintendo 64, I chose to make my own version to better understand what went into developing such a game. My game consisted of four levels, each with the goal of getting the player to the goal marked by a flag. The player had to reach this goal while avoiding enemy sprites. While a simple game conceptually, there was a lot to be done under the hood.
Graphics
One of the harder tasks to tackle was getting the graphics on the screen and to have frame updates without tearing. Tearing occurs when memory access is too slow and the user can visually see two parts of the screen that are out of sync. Since each pixel on the display needs to be updated each frame, it is crucial that the update process is efficient to avoiding any visual artifacts. Here I leveraged Direct Memory Access to ensure that the game experienced limited tearing.
			void fillScreenDMA(volatile u16 color) {
				DMA[DMA_CHANNEL_3].src = &color;
				DMA[DMA_CHANNEL_3].dst = videoBuffer;
				DMA[DMA_CHANNEL_3].cnt = DMA_ON | DMA_SOURCE_FIXED| (240*160);
			}
			void drawImageDMA(int row, int col, int width, int height, const u16 *image) {
				for(int i = 0;i < height;i++){
					DMA[DMA_CHANNEL_3].src = image+(width*i);
					DMA[DMA_CHANNEL_3].dst = &videoBuffer[OFFSET(row+i,col,240)];
					DMA[DMA_CHANNEL_3].cnt = DMA_ON | width;
				}
			}
As seen above, this was done by directly manipulating the values of the DMA registers to tell it the data source and data destination memory addresses. The control register was then set to turn DMA on and configure other relevant settings. Utilizing this I/O operation to speed up the frame updates, tearing was reduced significantly and I was able to update the game's frame with writing, shapes, and sprites as desired. Sprite movement was simulated by re-writing a sprite at a constantly shifting new position in a next frame.
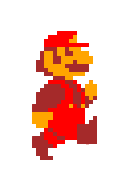
As you can see, this was more in-depth for the player's character. I decided to animate the movements a bit for Mario by having the program alternate between writing two different images, each with a different one of his feet leading to resemble a walking animation.

Game Logic
The logic for the game was handled by a two-level Finite State Machine that would respond to user keyboard input. Accepted input included the arrow keys for movement and jumping, Enter for Start, and Backspace for Select. When in the Play state, the transition triggers were defined as any collisions between the player sprite and the enemy or goal sprites. The top-level FSM can be seen below, showing the flow between game states and what triggers state transition.
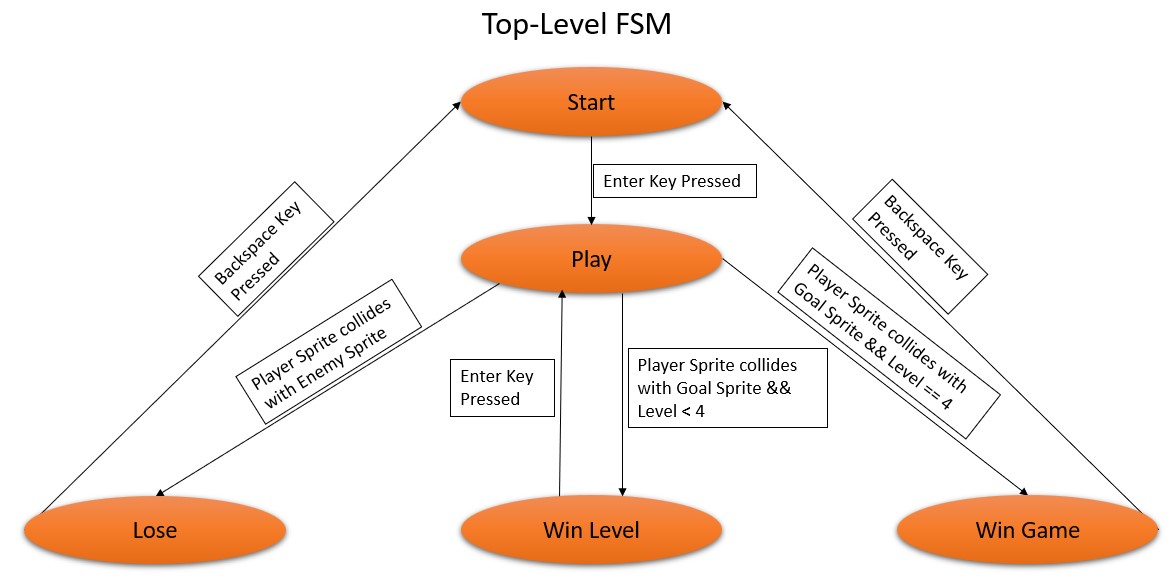
You may have noticed that the 'Level' variable plays an important role here in deciding what state to transition to. This variable is used to track the current level the player is on and is crucial in determining what level's structural and enemy layout to display. The bottom-level FSM used within the Play state is responsible for processing this level variable and filling the screen with the correct sprites and shapes at first load. From there, the screen pixel values are determined by movement rules detailing how the player sprite moves with user input and how the enemy sprite moves across the screen over time. This bottom-level FSM gets complex but it can be broken down by user input into decision trees.
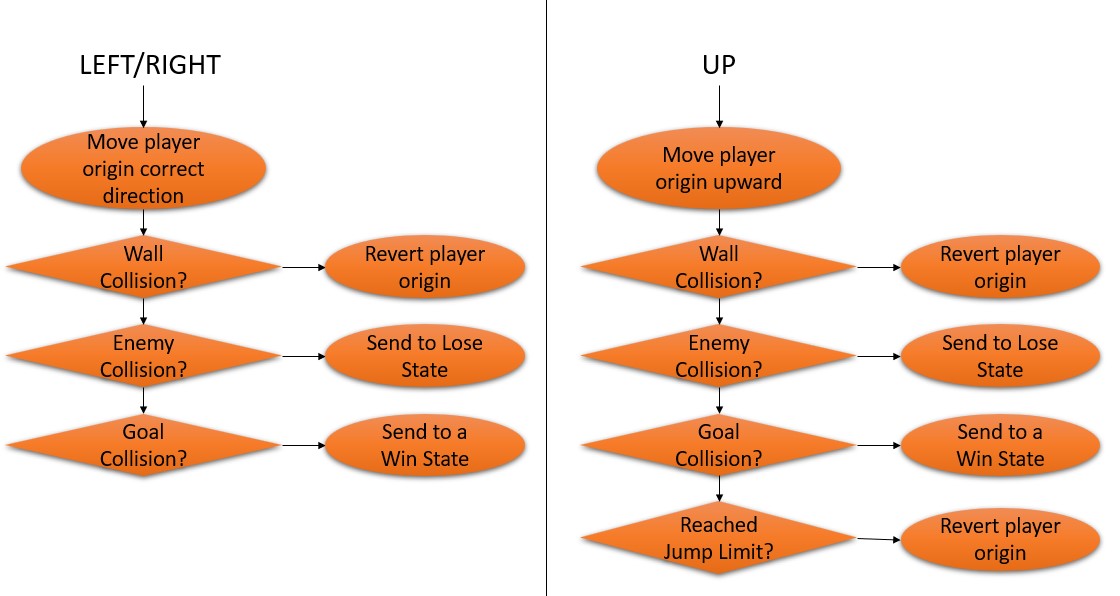
In addition to the frame updates in response to user input and the constant, hard-coded movement updates of the enemy sprites, gravity was simulated. This was done by constantly trying to move the player sprite origin down each frame at a rate less than the upward rate associated with jumping. If the player was on the ground already, wall collision with the ground would be detected and no movement would occur. If in the air, the player sprite would fall down towards the ground as expected.
What I Learned
This project was my first taste of video game development and was a great learning experience that taught me new ways to interact with I/O devices in C. Designing the FSM from scratch prepared me for future system design projects.